|
Every once in a while it's good to treat yo' self, so for the 4th of July I decided to make a french-inspired lemon blueberry tart, topped off with fresh lemon whipped cream. The tart was tangy from the lemon and sweet from the blueberries, with a buttery shortbread crust. Here's what you'll need: For the tart crust:
Begin by adding the flour, sugar, and salt into a food processor, and pulse until combined. Next, add in the butter in chunks and pulse until the consistency resembles that of corn meal, and the chunks of butter are evenly distributed in small pieces throughout the flour mixture. Add in the cold water and pulse until a ball begins to form. Mold the dough into a ball, wrap in saran wrap, and let sit in the refrigerator for a minimum of 30 minutes and up to 2 hours. The longer it cools, the easier the dough is to work with. (If you are like me and can't wait for 2 hours for dough to chill, you can put it in the freezer for 20-30 minutes and it works just as well) Once the dough is chilled, take it out of the fridge and unwrap it onto a lightly floured surface. Preheat the oven to 375°F. Using a rolling pin, roll out the dough into a circle shape until it is large enough to fit in the tart pan. The dough should also be fairly thin, about 3/10 of a centimeter thick ~Be patient with this step because if you roll the dough out too quickly, it may crack. If this happens, just piece the dough together in the pan and try to evenly press it to the shape of the pan.~ Place the dough into the tart pan, and press the sides into the divets. It is also important to seal up any cracks so no filling spills out. Trim off any dough that is hanging over the edge of the pan by pressing down along the top rim. Next, pierce the bottom of the lined pan with a fork a few times, and place a sheet of parchment paper over the dough. Fill the pan with pie weight or dried beans, and bake for 20-25 minutes, until the edges begin to turn golden brown. ~This process is called blind-baking, and ensures the crust doesn't poof while baking, and it also partially bakes the crust to prevent it from getting soggy.~ Remove the parchment paper and beans/pie weights, and bake the crust for another 5 minutes. Once done, set aside to cool. For the custard filling:
Begin by rinsing the blueberries and dry thoroughly. Set aside. In a small sauce pan on low heat, slowly melt down the butter and combine with the sour cream, stirring until it makes an even homogeneous mixture. Set up a double boiler using a medium sized saucepan and either a metal mixing bowl or another smaller saucepan that can fit inside the first pot. Fill the bottom pot with water, but keep the waterline below where the top pot/bowl is; you don't want the two to touch. Boil the water, then reduce to a simmer, and now the double boiler is ready! Using the metal mixing bowl/saucepan off the heat, add in the eggs an sugar. Return to the heat and whisk until just combined, then add in the lemon juice. Continuously whisk the mixture for 3 minutes. At about half way you will start to see the mixture thicken up. ~It's super important to not stop whisking because the eggs can cook and become scrambled eggs if they sit on the heat directly.~ Next, add in the lemon zest and butter-sour cream mixture, and continue to whisk continuously for 3 more minutes. Once done, take it off the heat and set aside. Fill the tart pan with the blueberries, then pour the filling mixture over them, evenly distributing it throughout the pan. Cook for another 25- 30 minutes, until it is slightly golden brown and the filling can be tapped and surface doesn't crack or transfer to your fingers. Let cool for at least 20 minutes before popping out the bottom of the tin. Serve cold or at room temperature. For the Lemon Whipped Cream:
Start by placing the blades of an electric hand mixer and the mixing bowl in the freezer for at least 10 minutes. ~This will help to make sure they are super cold and will help the particles in the whipped cream form crystals so you get good volume and the cream holds its shape.~ Next, pour the cream in and mix until you see it thicken a bit. Add in the sugar, lemon extract, and vanilla extract, and mix until soft peaks form, about 3 minutes. Be careful not to over whip because then the cream will flatten out again. Serve a slice of the tart with a dollop of cream, and you're good to go! 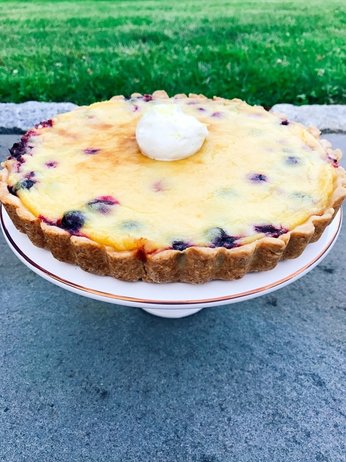 I'm a big fan of fresh oatmeal but sometimes I find it difficult to make in the morning because of how time-consuming it can be. For this reason, I love overnight oats because they are so simple to make and in 5 minutes you can have a delicious meal prepped for the next morning. There are a range of toppings and flavors that you can use to create your oats, but I tend to stick with basic flavors such as cinnamon to flavor the oats. You can also make overnight oats with or without the chia seeds, but I like the texture they add and they're a great source of omega-3 fatty acids. Depending on the size of the jar you are mixing the oats in, the measurements will vary. I used a small mason jar that previously held homemade jam, but you can also mix the oats in an empty to almost-empty nut butter jar for a nutty twist. You Will Need:
Ideally, you want half to 3/4 of the mix to be made out of the oats, and 1/4 to 2/4 of the mix to be chia seeds. The chia seeds will thicken the oatmeal, so you can play around with the ingredients to get your desired consistency. You then want to add in the milk until the dry ingredients are entirely submerged, but opposite to the chia seeds, the more milk you add, the more liquidy the oatmeal will turn out. After this is all mixed together, add in the cinnamon and maple syrup to taste. Let the oats sit covered in the fridge overnight, or for a minimum of 4 hours. You can top off the oats with anything you'd like, but some tried-and-true options are:
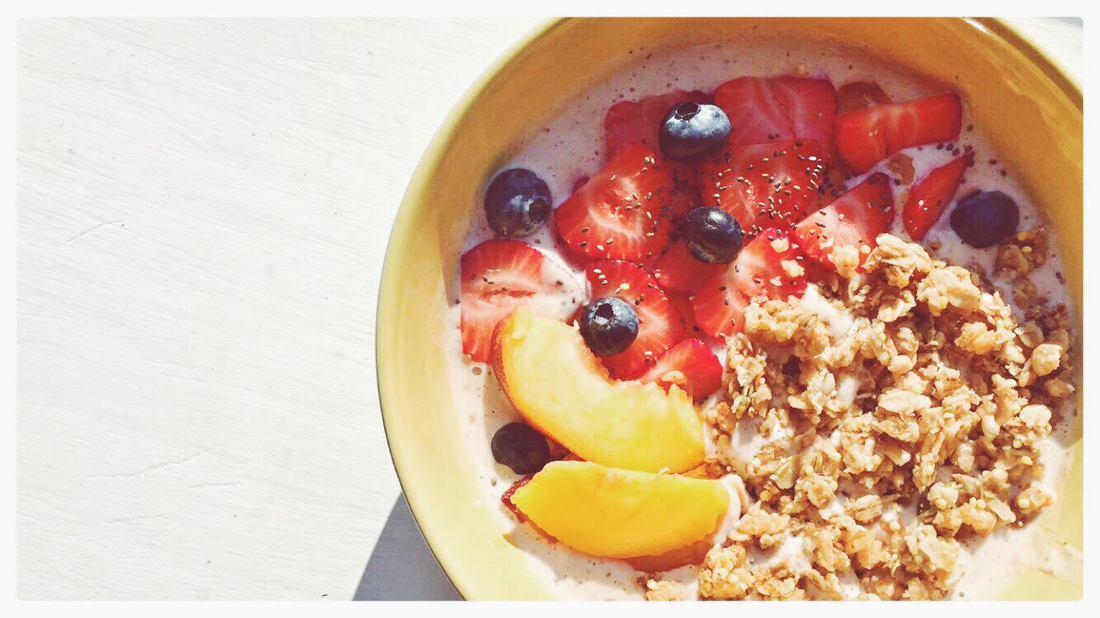
In the version you see below, I topped off the oats with Orange Spice Siggi's yogurt, unsweetened coconut flakes, blueberries, and strawberries. 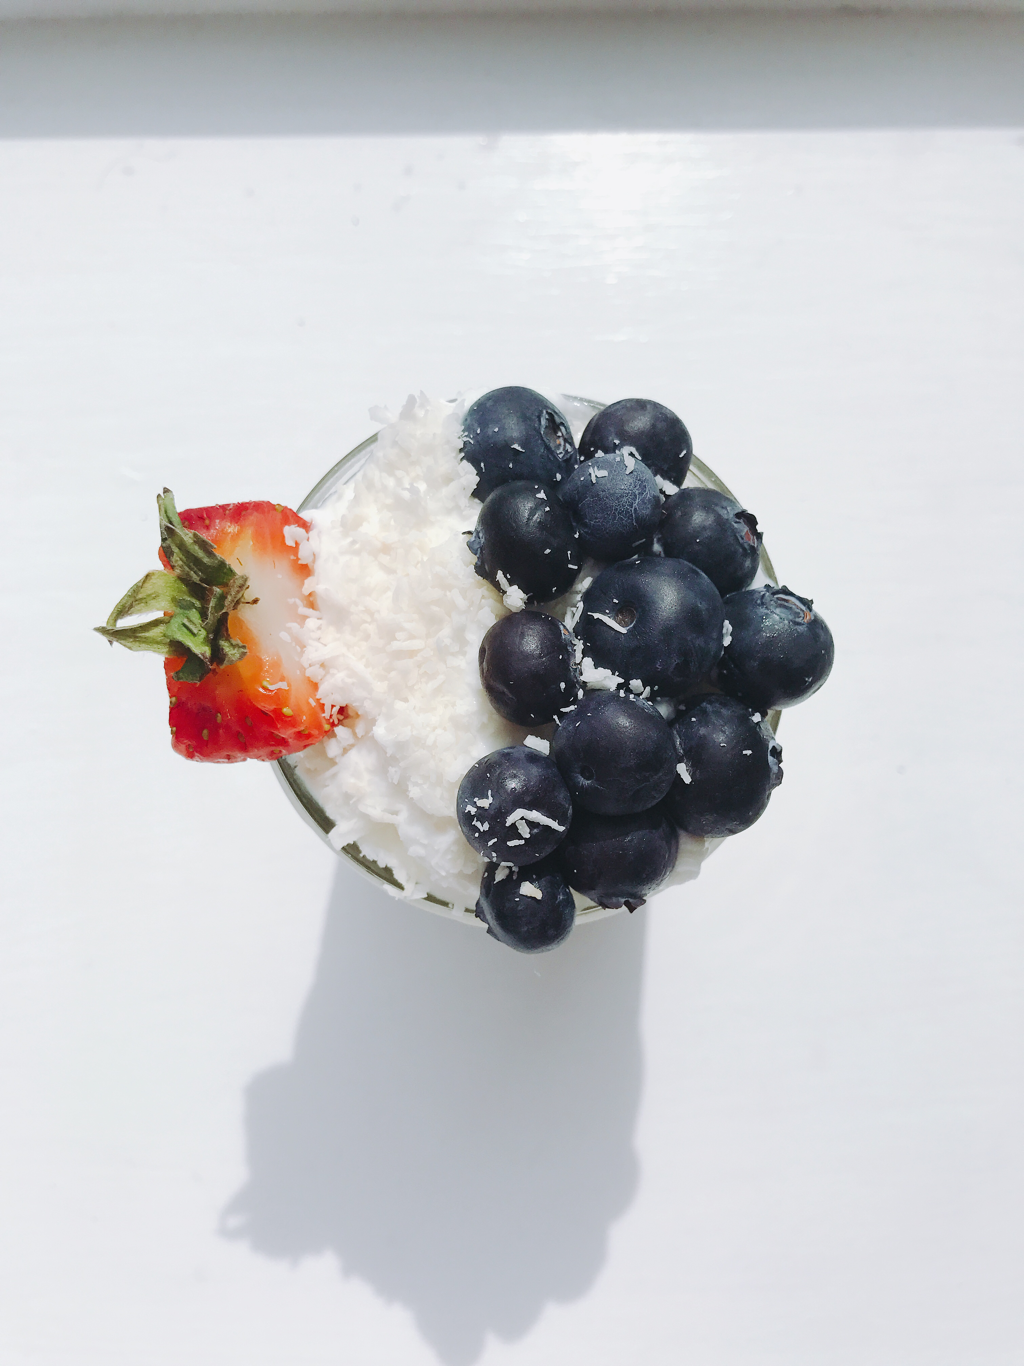 ~ Breif explanation of what the heck Siggi's is: ~ I LOVE this stuff! Siggi's is a thick yogurt in the style of Icelandic Skyr, that has a higher content of protein than sugar. They are not overly sweet, and come in various milkfats, from 0% (skim), to 4% (whole). The skyr is made from grass-fed cows, and has no artificial sweeteners, high fructose corn syrup, or artificial coloring. The options for overnight oats are virtually endless, which makes it a perfect option for a quick and filling breakfast! 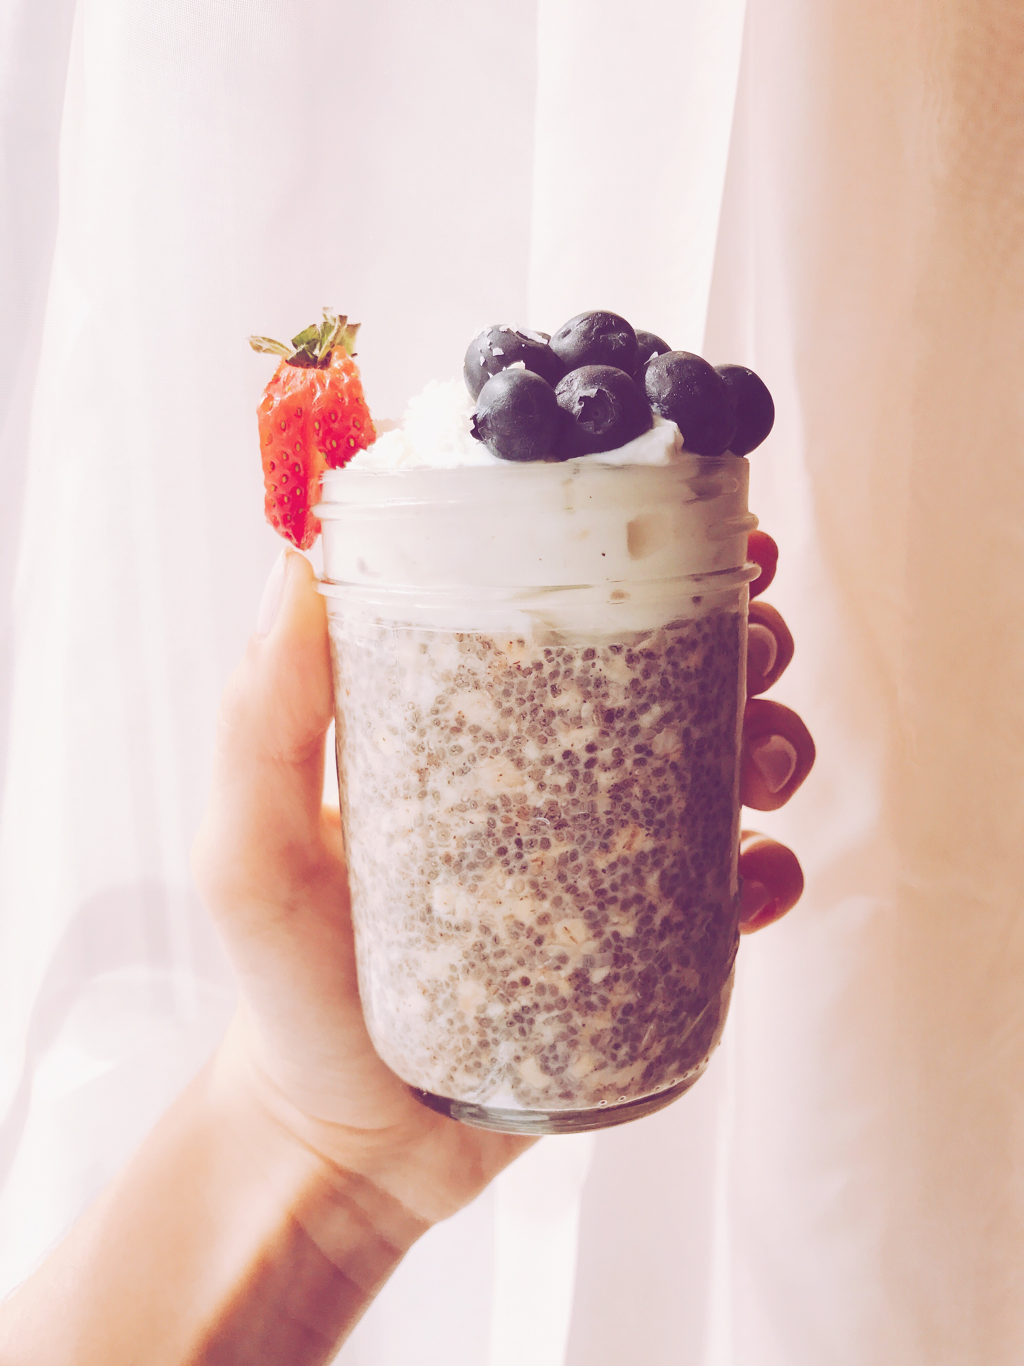 Brussel sprouts are quite the controversial food, with a reputation of being a "gross" vegetable that lacks flavor. However, these tiny cabbages are packed with fiber, vitamin c, vitamin k, iron, magnesium, and folate (just to name a few of their health benefits). I, for one, love brussel sprouts, and have been eating them roasted in the oven for as long as I can remember. Here's what you'll need: You Will Need:
To start, preheat the oven to 425°F. Rinse the brussel sprouts, then cut off the bottoms, and halve each. Place them in a medium sized bowl, and add all ingredients. Mix until the brussel sprouts are covered, and pour onto a cookie sheet. Bake for about 20-30 minutes, or until the sprouts are browned and crispy.  It's been quite a while since I last blogged but I am so glad to be back home for the summer! Since I now have access to a kitchen and to ingredients I can't always find in stores by school, I've been cooking quite a bit. If there's one thing I love the most it's baking, so the other day I decided to whip up this chocolate pumpkin spice cake with extra pumpkin puree I had in the fridge. What I love about this recipe is that you can substitute the pumpkin for any type of squash if you roast the vegetable first, then puree it. The cake also contains some hidden seeds which, combined with the pumpkin, yield a loaf that has lots of fiber and minerals. Because of this, I love to have it as a sweet treat, or even for breakfast with a side of vanilla yogurt. Ingredients:
Begin by preheating the oven to 325° F. Next, grease the sides and bottom of a large loaf pan, and line the bottom with a sheet of parchment paper. In a medium saucepan, heat the butter, molasses, corn syrup and xylitol over low heat until the butter is melted. *It is important to use low heat so the sugars in the syrups don't burn before the butter melts*. Next, add in the pumpkin puree and 2 tsp. of ground ginger, stir to combine, and set aside to cool for at least 5 minutes. In a food processor, grind 1/4 cup of the seed mixture into a powder, then add it into a medium mixing bowl with the flour, baking soda, cinnamon, allspice, and extra tsp. of ginger. Whisk together to combine. In a separate bowl, lightly beat the egg and gradually add it into the cooled puree mixture, making sure to continuously stir so the egg doesn't cook too fast if the mixture is still hot. Stir the puree mixture into the flour mixture until combined. Gradually add in the milk a 1/4 cup at a time, until the batter thins. Next, fold in the chocolate chips to assure even distribution throughout the batter. Pour the batter into the pan, and bake for about 50-60 minutes, or until a toothpick is inserted and comes out relatively clean. *The cake is moist so the toothpick may not be entirely clean, but I wouldn't cook it much longer than this since the cake is already dark in color and you don't want to risk burning it*. Let cool in the pan for 10 minutes, then flip onto a wire rack to finish cooling.  One thing that I absolutely love is sweets of any sort. I have a ginormous sweet tooth and love to bake anything from cookies to cupcakes. However, sometimes I don't have the time to make them, have enough people to eat them, or want to indulge in super heavy baked goods. I came up with the idea for a mug cake one afternoon when I was craving a small dessert, but didn't want to make a processed mug cake from a box. I also wanted to create a recipe that was easy and simple to make being a college student. After some trial and error, I ended up trying a few variations that were egg-based, gluten free, and just as tasty! Here's what you'll need: Coconut Chocolate Chip Mug Cake
Crack the egg into a mug and add all of the ingredients minus the chocolate chips. Using a fork, whisk the ingredients until mixed and smooth. Drop the chocolate chips into the mug and gently fold them in using the fork to make sure they don't sink to the bottom of the mug. Microwave for 1 minute, let stand for a few seconds, then microwave for another 30 seconds. Double Chocolate Cinnamon Mug Cake
Crack the egg into a mug and add all of the ingredients together, minus the chocolate chips and the cinnamon. Using a fork, whisk the ingredients until smooth. Microwave for one minute, then place the chocolate chips on top of the mug cake and sprinle with cinnamon to taste. Microwave for another 30-40 seconds. Strawberries and "Cream" Mug Cake
Crack the egg into the mug and add all of the ingredients minus the strawberries. Using a fork, whisk the ingredients until smooth, then fold in the strawberry slices. Microwave for 1 minute, let sit for a few seconds, then microwave for another 20-30 seconds. ~ I actually ate this version of the mug cake for breakfast so I had a little bit more fun with it, and decided to top it off with a scoop of Siggi's Lingonberry and Strawberry yogurt, more diced strawberries, and chia seeds.~ 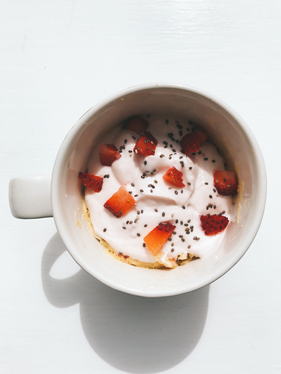  Hi there everyone! So as some of you may or may not know, I'm a student in college which means that I am back at school and yes, the summer is coming to an end. I had an amazing few months exploring new recipes and fresh ingredients, but all of that was flipped upside down when I had to eat my first meal back in a college dining hall. Because of this, I decided to create a blog post with some tips and tricks I follow while on campus to make sure I am properly nourishing my body with wholesome foods. Even if you aren't a college student or are one of the lucky few who have a kitchen, these tips can help you out, too : Choose Whole:
Fresh Fruit is a Must:
Eat Those Greens:
Stay Sane:
Smoothies are a refreshing drink that are enjoyable year-round, but I especially love smoothies that are homemade. When you make a smoothie from scratch you are able to control the quality of the ingredients you use and ensure you are fueling your body with more healthy ingredients than excess ingredients like those you may find at a smoothie chain. By blending together more nutrient-dense food, you can easily avoid excess sugar and fat. This smoothie bowl I created for breakfast has lots of protein, fiber, and natural sugars, which are easier for your body to digest. I also love the idea of a smoothie bowl because you can top it off with whole fruits (instead of blending them up), as well as healthy grains and seeds like granola and chia seeds I topped it off with. Another great moderation you can make to any smoothie recipe is to add in some greens such as spinach or kale. I promise you, the flavor of the fruit can mask the flavor of the greens. For the Smoothie:
Add the yogurt, almond butter, milk, and strawberries to a blender and blend until smooth. Be sure to work quickly so the smoothie stays cold! Pour the smoothie into a bowl, and top it off. To top off the smoothie bowl:
 Today I was craving something crispy and crunchy for a snack, but I didn't want to settle for plain potato chips. I decided to look though my fridge for some inspiration, and realized I still had some organic baby kale. The idea of kale chips came to mind, and because I had never tried them before, I knew I had to have a go at making them. I don't particularly mind the taste or texture of kale, but I'm the only one in my family who likes it, so I knew I had to make them tasty enough for everyone to enjoy. Let's just say, even my grandma who HATES kale said they tasted good! Here's the recipe: Ingredients:
Preheat the oven to 450. Start by cutting the stems off of the kale, and rinsing the leaves. Pat them dry thoroughly using paper towels. In order to keep the chips crunchy you want there to be as little moisture on them as possible (other than the oil which helps to cook them). Next, combine the seasonings to taste, excluding the sea salt. Lightly spray the cookie sheet with the cooking spray, and place the kale leaves, as flat as possible, onto the sheet. Sprinkle with the seasoning mixture, and flip the leaves to season the opposite side. Flip the kale leaves right side up again, and slide the pan into the oven. *I recommend using the center rack for more even cooking, as the top rack will cook the leaves faster.* Cooking times may vary depending on the size of the leaves, but since the chips are delicate, it's important to keep a watchful eye as they cook to ensure they don't burn or stay too soft. Since I used baby kale leaves, I only needed to cook them 4-5 minutes, however, the larger the leaf, the more time it will take to cook. Once the chips are fully crispy, but not burnt, remove the tray from the oven, and sprinkle on some sea salt to taste. Transfer the chips off the tray to quickly cool for a minute, and you're good to go!  Salads are so incredibly good for you, but sometimes they can get boring and flavorless. Today for lunch I was craving a salad that was packed with lots of veggies and would also satisfy my undeniable hunger. After adding in some fruit to the mix, I topped it off with a homemade honey mustard vinaigrette. Here's what you'll need: For the Vinaigrette:
Combine the ingredients into a small bowl and whisk together to mix well. If you would like to make the vinaigrette thinner, add a small amount more of water, and if you would like to thicken it up, add a slight bit more honey. For the Salad:
Drizzle on the dressing, and you're good to go! 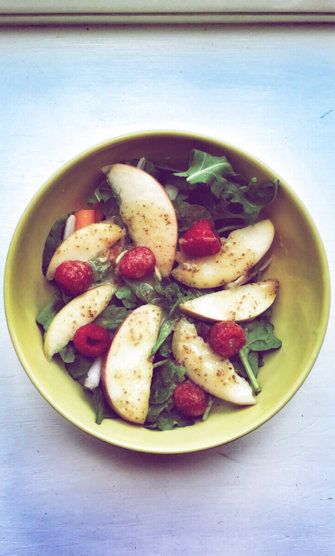 |
 RSS Feed
